Recording Your Band: A Guide to Demo and Studio Sessions
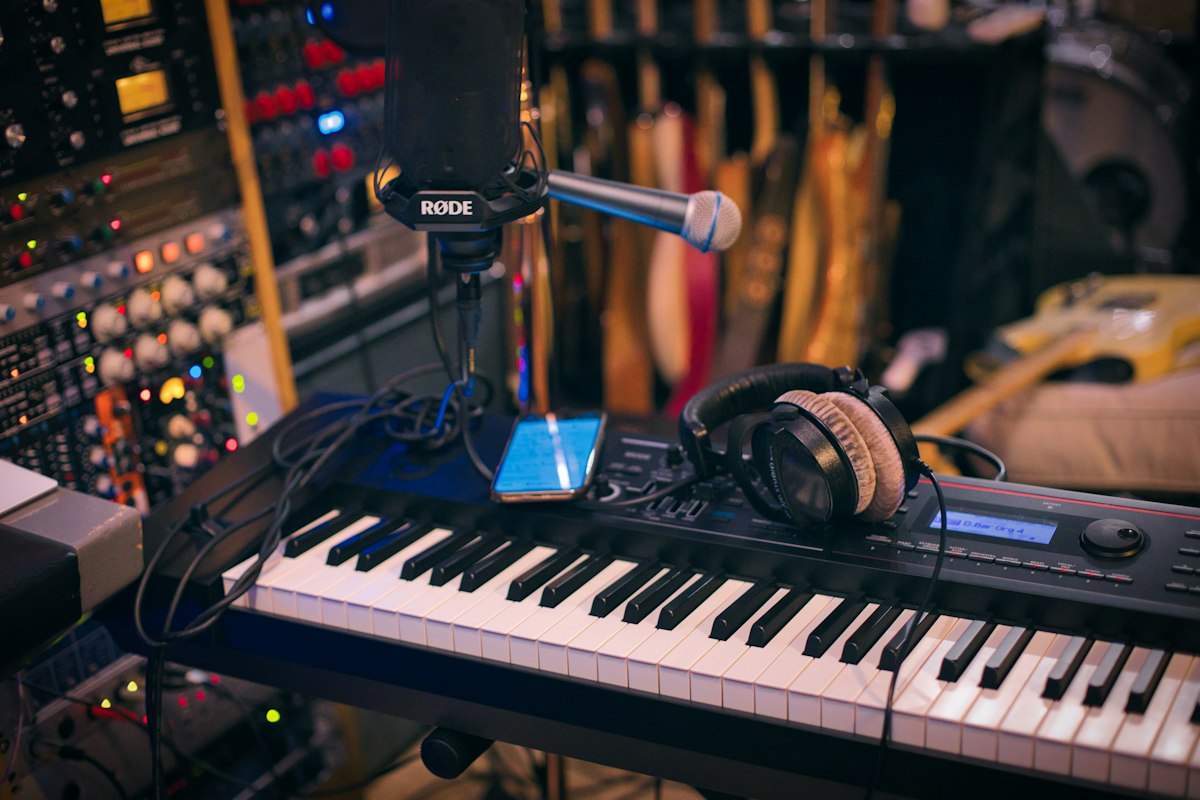
Recording is where songs become permanent. A great recording captures your band's sound, reaches audiences who will never see you live, and serves as your calling card to venues, press, and industry professionals. But recording is also expensive, time-consuming, and full of pitfalls that can drain your budget without delivering results.
Whether you are recording your first demo at home or booking a professional studio for a full album, this guide will help you approach the process strategically and get the most out of your time and money.
Know What You Are Recording and Why
Before you book a studio or set up a microphone, you need to know what you are trying to achieve. Different recording goals require different approaches.
Demos are meant to showcase your songs, not to be final products. They are for booking gigs, sending to press, or sharing with collaborators. Demos can be recorded at home with modest equipment. The bar is clarity and representation of the song, not sonic perfection.
Singles are release-ready recordings meant for streaming and distribution. They need to sound professional and competitive with other releases in your genre. This is where investing in a proper studio or high-quality home setup pays off.
EPs and albums are major projects that require significant planning, budget, and time. They involve tracking multiple songs, maintaining consistency across tracks, and often involve mixing and mastering engineers.
Live recordings capture the energy of your performance. They are simpler to produce but require good venue acoustics and capable live sound capture.
Define your goal before you start, and let that goal drive every decision about budget, equipment, and process.
Home Recording vs. Professional Studio
The gap between home recording and professional studio results has narrowed dramatically. With affordable interfaces, quality microphones, and powerful software, you can produce release-ready recordings at home—if you have the skills and a treated space.
Home recording advantages: Lower cost, no time pressure, ability to experiment freely, and full creative control. It is ideal for demos, songwriting, and bands comfortable with the technical side of recording.
Home recording challenges: Acoustic treatment is difficult without dedicated space. Monitoring is limited without professional monitors in a treated room. The learning curve for recording and mixing is steep, and it is easy to spend more time engineering than performing.
Professional studio advantages: Acoustically treated rooms, high-end equipment, experienced engineers, and a focused environment. Studios deliver polish and consistency that is hard to replicate at home.
Professional studio challenges: Cost (typically $50-200+ per hour), time pressure, and the need to be fully prepared before you walk in. Wasted studio time is the biggest budget killer for bands.
Many bands use a hybrid approach: track basics at home or in a rehearsal space, then take the files to a studio for drums, vocals, or mixing. This balances cost and quality.
Preparation: The Most Important Step
The single biggest mistake bands make is showing up to record unprepared. Studio time is expensive, and every minute spent figuring out arrangements, debating parts, or fixing performance issues is money wasted.
Rehearse until the songs are second nature. You should be able to play the songs flawlessly without thinking. Recording is not the time to learn parts or work out arrangements. Every minute spent in the studio deciding how a bridge should go is a minute you are paying for.
Finalize arrangements before recording. Know exactly how long each section is, what each member plays, and where transitions happen. Create scratch recordings or demos at home so you can reference them in the studio.
Plan the recording order. Most recordings start with a foundation—drums and bass tracked together, or a click track with scratch instruments. Then layer guitars, keys, and vocals. Discuss this plan with your engineer ahead of time.
Prepare your instruments. New strings on guitars and basses, fresh heads on drums, properly maintained amplifiers. A great recording starts with great-sounding source material. No amount of studio magic fixes a dull, dead-sounding instrument.
Bring references. Find recordings in your genre that you admire and bring them to the studio. This helps the engineer understand the sound you are going for and gives everyone a shared target.
The Tracking Process
In the studio, efficiency is everything. Here is how to make your tracking sessions productive.
Record to a click track if the song calls for it. This keeps tempos consistent and makes editing and overdubbing easier. Some genres and songs benefit from organic tempo variation—discuss this with your engineer.
Get full takes, not just parts. While punching in to fix mistakes is normal, try to get complete takes whenever possible. They have a natural flow and energy that stitched-together parts lack.
Do not over-edit. It is tempting to quantize every drum hit and tune every vocal note, but over-editing strips the life from a performance. Let small imperfections through—they are part of what makes a recording feel human.
Take breaks. Fatigue leads to sloppy performances and poor decisions. A ten-minute break every hour keeps everyone fresh and focused.
Capture multiple takes of critical parts. Vocals and solos benefit from having options during mixing. Record three or four takes of important vocal lines so you and the engineer can comp the best performance.
Mixing and Mastering
Mixing is where raw tracks become a finished recording. It involves balancing levels, panning, equalization, compression, effects, and creating a cohesive sonic picture.
Mixing is a specialized skill. If you are recording at home, consider hiring a mixing engineer for your release-ready material. A fresh set of trained ears in a treated room will almost always produce better results than you can achieve yourself.
Communicate clearly with your mixer. Provide references, be specific about what you want, and trust their expertise. The best results come from collaboration, not from dictating every move.
Mastering is the final step. It ensures your recording is at competitive loudness, translates well across playback systems, and flows properly if it is part of an album. Mastering is a distinct skill from mixing—use a dedicated mastering engineer for release-ready material.
Do not master your own mixes if you want professional results. The same person mixing and mastering creates a conflict of perspective. A separate mastering engineer provides objectivity.
Budgeting and Logistics
Recording costs add up quickly. Here is how to manage your budget.
Get quotes upfront. Studios charge by the hour, day, or project. Know what is included—engineer time, equipment, mixing, mastering—and what costs extra.
Budget for more time than you think you need. Sessions always run longer than planned. A buffer prevents panic and rushed decisions when things take longer than expected.
Do not skimp on mixing and mastering. Great tracking with poor mixing sounds amateur. Allocate a significant portion of your budget to post-production.
Factor in additional costs: Travel, accommodation if recording out of town, food during sessions, and any session musicians or additional services.
Releasing Your Recording
A recording that sits on a hard drive benefits no one. Plan your release before you finish recording.
Choose a distributor. Services like DistroKid, TuneCore, and CD Baby get your music onto streaming platforms. Compare pricing and features.
Plan a release campaign. A single drop with no promotion will reach almost no one. Build anticipation with teasers, social media content, and press outreach over the weeks leading up to release.
Coordinate with your live schedule. A release show or tour tied to the recording amplifies its impact. Use tools like SetSync to coordinate gig dates, member availability, and setlists around your release timeline.
Register your songs. Ensure your compositions are registered with a PRO (ASCAP, BMI, SESAC) and that your recordings are registered with SoundExchange for digital performance royalties.
The Bottom Line
Recording is an investment in your band's future. Approach it with the same professionalism and preparation you bring to your live performances. Define your goals, prepare exhaustively, choose the right environment for your budget, and do not rush the process. A well-recorded, well-mixed song can work for you for years—driving streams, booking gigs, and building your audience long after the session ends.
And to keep your recording timeline coordinated with rehearsals, gigs, and band member schedules, tools like SetSync help ensure that your studio sessions do not conflict with your live commitments and that everyone shows up prepared.