Managing Band Equipment and Gear Logistics
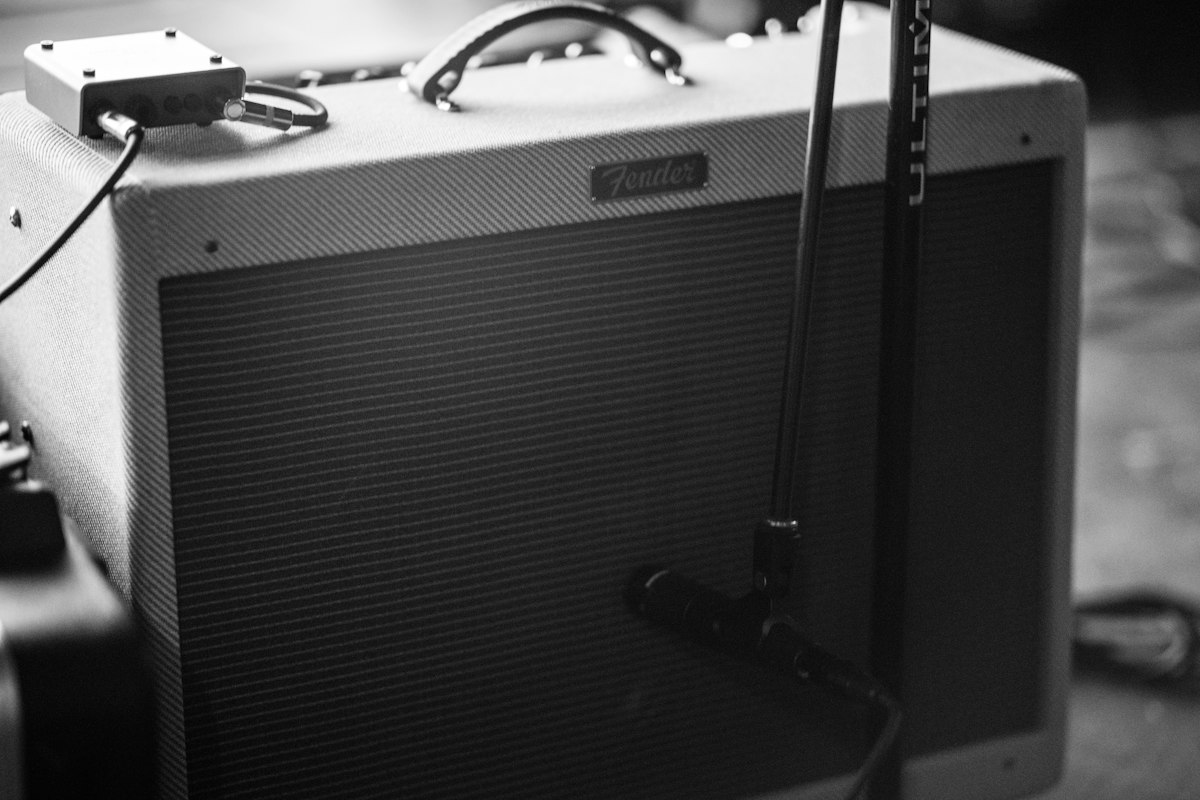
Gear is the lifeblood of a band. Your instruments, amplifiers, drums, cables, and accessories are the tools that make your music possible. But managing gear—the logistics of transporting it, maintaining it, protecting it, and ensuring the right equipment is in the right place at the right time—is one of the most underappreciated challenges of being in a working band.
Whether you are playing local bars or touring regionally, gear logistics can make or break your night. This guide covers everything you need to know about managing your band's equipment efficiently.
Know What You Have
The first step in gear management is knowing exactly what you have. This sounds obvious, but you would be surprised how many bands cannot produce a complete inventory of their equipment.
Create a detailed inventory. List every piece of gear the band owns or regularly uses: instruments, amplifiers, pedals, drums and hardware, microphones, cables, stands, cases, and accessories. For each item, record the make, model, serial number, estimated value, and condition. Serial numbers are critical for insurance claims and theft recovery.
Photograph everything. Take clear photos of each piece of gear, including close-ups of serial numbers and any distinguishing features. Store these photos in a shared cloud folder accessible to all members. If gear is stolen or damaged, these photos are essential for insurance claims and police reports.
Assign ownership. Clearly document which gear belongs to the band collectively and which belongs to individual members. This prevents disputes when members leave or the band dissolves. For shared gear, document how it was purchased and who technically owns it.
Review your insurance. Standard homeowners or renters insurance may not cover gear used professionally. Look into musical instrument insurance or a policy rider that covers your equipment for theft, damage, and loss, including coverage at gigs and during transport. The cost is modest compared to the value of replacing a full rig.
Packing and Transport
How you pack and transport your gear affects everything from setup efficiency to equipment longevity. A systematic approach saves time, prevents damage, and reduces stress.
Use proper cases. Hard cases or heavy-duty gig bags protect your instruments during transport. For pedals and small electronics, use padded cases or pedalboards with covers. For drums, hard cases are essential—drum hardware takes a beating in transit. Investing in quality cases is far cheaper than replacing damaged gear.
Label everything. Label cases, cables, and accessories with your band name. At venues with multiple bands, gear gets mixed up. A simple label prevents your cable from walking off with another band's setup. Use colored tape or distinctive markings to make your gear easily identifiable.
Create a packing list. Before each gig, use a checklist to ensure you have everything. Nothing is worse than arriving at a venue and realizing you forgot your pedalboard power supply or a critical cable. A laminated checklist kept in each member's gig bag prevents these disasters.
Distribute the load. If multiple members have vehicles, distribute gear logically rather than cramming everything into one car. This reduces the risk of damage from overcrowding and makes load-in and load-out faster, as multiple people can carry gear simultaneously.
Protect gear in vehicles. Secure gear so it does not slide or shift during transport. Use blankets, straps, or cargo barriers to prevent movement. Instruments in particular can be damaged by impacts during sudden stops or sharp turns. Never leave gear in a vehicle overnight, especially at venues or hotels—temperature extremes and theft risk are real.
Load-In and Setup Efficiency
The way you handle load-in and setup at a venue sets the tone for your entire night. Efficient, organized setup reduces stress, impresses venue staff, and ensures you are ready to soundcheck on time.
Stage gear logically. When you load in, place gear in a staging area rather than immediately putting it on stage. This allows you to set up in a logical order and keeps the stage from becoming cluttered during setup.
Set up in order. Start with the largest items—drums, amplifiers, keyboard stands—then add smaller items. Run cables before placing instruments at their final positions. This prevents tangles and ensures a clean, professional stage layout.
Use a stage plot. A stage plot is a simple diagram showing where each member and their gear should be placed on stage. Share this with the venue in advance so the sound engineer can prepare. It also helps your band set up consistently and efficiently every night. Even a hand-drawn stage plot is valuable.
Coil cables properly. Learn to coil cables correctly (over-under technique) to prevent tangles and extend cable life. Tangled, kinked cables are frustrating to deal with and degrade faster. Store coiled cables in a dedicated bag or case.
Have backup cables and essentials. Always bring spare instrument cables, power cables, and batteries. A failed cable can halt your set if you do not have a backup. Pack a small emergency kit with strings, picks, drumsticks, fuses, and basic tools.
Maintenance and Care
Regular maintenance keeps your gear sounding great, performing reliably, and lasting longer. Neglected equipment fails at the worst possible moments—usually mid-set at an important gig.
Establish a maintenance routine. After each gig, wipe down instruments, check for loose parts, and address any issues immediately rather than letting them accumulate. Change guitar strings regularly—dead strings sound dull and are more prone to breaking. Replace drum heads when they lose their tone. Clean and lubricate pedals and jacks to prevent crackling and signal loss.
Store gear properly. Instruments should be stored in cases when not in use, in a climate-controlled environment. Extreme heat, cold, and humidity damage wood, electronics, and drum heads. Avoid leaving gear in cars, garages, or basements with poor temperature control.
Address issues promptly. A buzzing amp, a crackling pot, a loose jack—these small problems become big problems if ignored. Fix issues as they arise rather than waiting for them to escalate. Have a relationship with a reliable repair technician for work beyond your abilities.
Test before every gig. Before leaving for a venue, test every piece of gear. Plug in, power up, and make sure everything works. Discovering a problem at the venue, when you have no time to fix it, is a nightmare. Catching it at home gives you time to address it or bring a backup.
Backline and Shared Gear
When multiple bands share a bill, backline sharing is common. This means using shared amplifiers, drum kits, or other equipment to reduce setup time and stage clutter. Handling shared gear requires communication and respect.
Coordinate in advance. If backline will be shared, coordinate with the other bands and the venue before the show. Agree on what will be provided and what each band needs to bring. This prevents duplicates and ensures everyone has what they need.
Respect shared gear. If you use another band's amplifier or drum kit, treat it with respect. Ask before adjusting settings. Do not damage or modify anything. If you break something, own up to it immediately and offer to repair or replace it.
Bring what you need for your sound. Even with shared backline, bring the specific gear that defines your sound—your pedals, your snare, your in-ear system. Do not rely entirely on shared gear for elements that are critical to your performance.
Be flexible. Shared backline means you may not have your ideal setup every night. Practice performing with different gear configurations so you can adapt. Versatility is a valuable skill for working musicians.
Touring Gear Logistics
<arg_value>When you start touring, gear logistics become significantly more complex. What works for local gigs does not necessarily scale to multi-date tours.
Minimize and standardize. Touring is not the time to bring every piece of gear you own. Bring what you need, and standardize your setup so it is consistent night after night. This makes setup faster, reduces the risk of forgetting something, and simplifies troubleshooting.
Plan for each venue. Research each venue's backline and technical capabilities in advance. Some venues provide full backline; others provide nothing. Adjust your packing list accordingly. Do not assume—verify.
Have a backup plan. On tour, gear will fail, get lost, or get damaged. Have a plan for replacing critical items on the road. Know where music stores are along your route. Carry backups for essential items like cables, strings, and drumsticks. For critical gear like guitars, consider bringing a backup instrument if space allows.
Manage power and voltage. If touring internationally, understand voltage and plug differences. Your gear may need voltage converters or plug adapters. Research this before you leave—discovering your amplifier will not power on in a foreign country is a costly mistake.
Document your setup. Take photos of your pedalboard configurations, amp settings, and stage layout. If something gets reset or modified during a show, you can quickly restore your preferred setup. This is especially helpful when multiple people handle your gear during load-in and soundcheck.
The Cost of Gear Management
Gear is expensive, and gear management has its own costs—cases, maintenance, insurance, backups, and the time invested in organization. But these costs are investments in reliability and professionalism.
A band that shows up with well-maintained, properly transported gear, sets up efficiently, and handles the stage with competence projects professionalism. Venue staff notice. Other bands notice. And your performances benefit from equipment that works reliably and sounds its best.
Conversely, a band that arrives with disorganized, damaged gear, scrambles during setup, and deals with equipment failures mid-set signals amateurism—regardless of how well they play. Gear management is not the most glamorous part of being in a band, but it is one of the most visible markers of professionalism.
Use Tools to Stay Organized
Managing gear alongside gig schedules, setlists, member availability, and venue details requires organization. Keep your gear inventory, stage plots, and technical requirements documented and accessible to all members. Tools like SetSync help centralize this information alongside your gig logistics—so when you are coordinating load-in times, setlists, and member assignments, your gear information is right there with everything else.
The bands that manage their gear well are the bands that show up ready to perform, every time, without stress. And when the logistics are handled, you can focus on what really matters: delivering a great show.